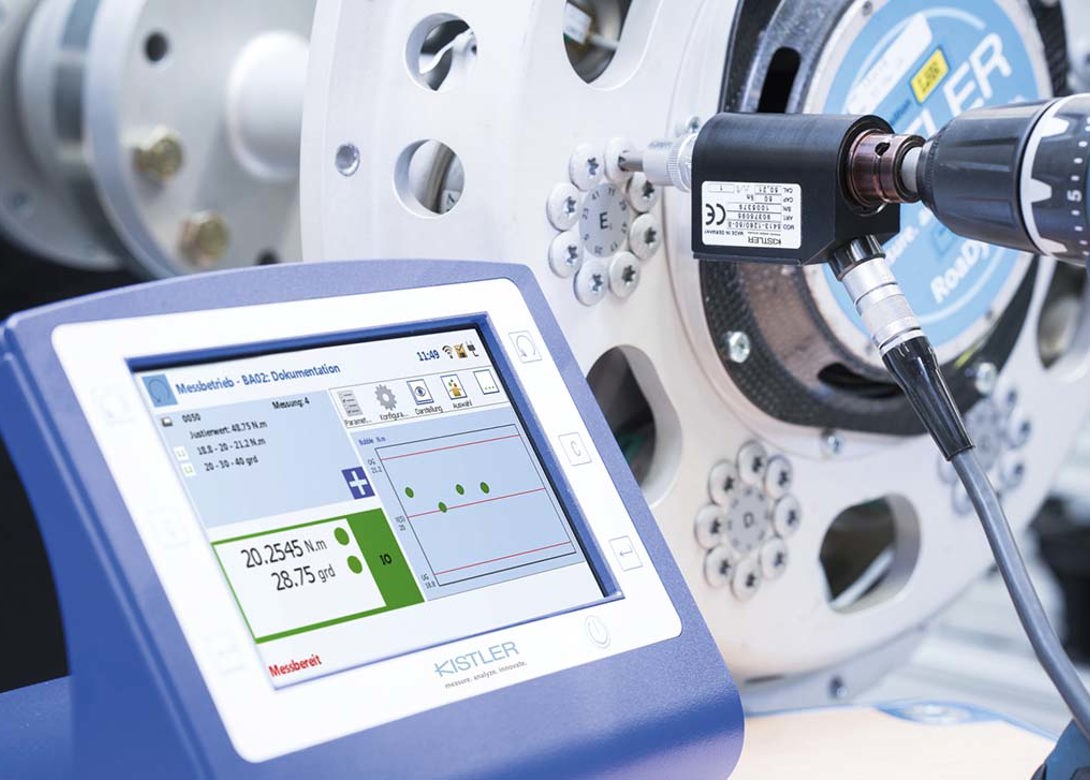
Bolted joints must function safely and reliably to avoid extra costs, recall actions or recourse claims. In this interview, Wilfried Blechmann, head of Kistler’s Fastening Technology Business Line, explains the key points in quality assurance for fastening technology. He goes on to describe the systems that provide effective support for users in every step of the process.
What are the key points that require attention from manufacturers using fasteners in their production processes?
“The level of quality required is high, so manufacturers need to monitor their fastening technology from end-to-end of the process. They have to carry out quality assurance on the fasteners themselves, the tools and also on the bolted joints in the assembled components. They must do this consistently and with the required frequency – depending on the application, for example, they should test the tool once every shift. They also have to document everything – in case of an investigation after a car accident. For example, they must be able to prove that they tested the bolted joint on the safety belt according to the applicable standards. The basis for performing quality assurance is set out in DIN EN ISO 9001.
Of course, the measuring instruments and systems used for quality assurance also need to be calibrated at regular intervals. Traceability of the measurement equipment may be required or indicated, so as to boost confidence in the validity of the measurement results. In these cases, calibration must take place in a laboratory accredited as per DIN EN ISO 17025. According to the risk category, these calibrations have to be repeated at intervals ranging from three months to two years.”
There are vast numbers of standards and regulations in this area. But which ones apply in which cases?
“Depending on the purpose for which the bolted joints are used, manufacturers draw up a test concept that includes the relevant standards for their application. Let’s mention some examples of important standards and guidelines derived from the ISO 9000 series: VDI 2862 sheet 2 on the ‘Minimum Requirements for Application of Fastening Systems and Tools’, VDI 2645 sheet 2 on the ‘Capability Test for Fastening Technology – Machine Capability Test – MCT’, and VDI 2230 on the ‘Systematic Calculation of Highly Stressed Bolted Joints’.
As well as these norms, customers often have their own specific requirements. VDI Guideline 2862, which I just mentioned, also includes a classification of bolted joints in three categories: ‘A’, ‘B’ or ‘C’. Category ‘A’ means danger to life and limb, ‘B’ indicates restricted function, and category ‘C’ is for bolted joints where a fault does not present a risk but would be an annoyance for customers. The testing requirements for bolted joints in categories ‘A’ and ‘B’ are naturally stricter than those for category ‘C’.
What are the most important variables that have to be tested?
“A number of different variables, such as coefficient of friction, preloading force, and torque, are relevant to the quality of a bolted joint. Preloading force – a critical factor in joint stability – is the result of interaction between torque, rotation angle and friction coefficients for the surfaces involved. These parameters have to be monitored continuously. It’s also important to document and archive all the data so the necessary proof can be provided in case of recourse claims.”
What are the advantages of solutions from Kistler Group?
“One decisive advantage is that Kistler offers systems, consulting, and services, for quality assurance from start to finish of the fastening process. Customers benefit from support at every stage – from drafting the test concept and actually carrying out quality assurance, all the way through to documentation and archiving. Also, we often implement adaptations to meet customers’ specific requirements – if space is confined, for example; if two systems are needed; or if a mobile measurement solution is required.
There is also another significant advantage. We hold DIN EN ISO 17025 accreditation both as a stationary laboratory and also for on-site deployments, so we can perform the prescribed recalibrations of test and measurement equipment on the customer’s own premises. That means there’s no need to send devices away – so costly periods when they are not available for production are eliminated.
Kistler’s portfolio of inspection systems for fastening technology includes devices to test the fasteners themselves, the tools and the bolted joints. The systems and the matching software capture all the measured values and present the documented results in a crystal clear format. User-friendly software modules help to manage tasks and store all the relevant data on testing assignments.”

Having spent a decade in the fastener industry experiencing every facet – from steel mills, fastener manufacturers, wholesalers, distributors, as well as machinery builders and plating + coating companies, Claire has developed an in-depth knowledge of all things fasteners.
Alongside visiting numerous companies, exhibitions and conferences around the world, Claire has also interviewed high profile figures – focusing on key topics impacting the sector and making sure readers stay up to date with the latest developments within the industry.


