By Frank Passarelli, Resonic Technologies
In industries using wire of various alloys for forming and forging operations, there has long been a need for fewer or even zero defect production, as well as the requirement to reduce tool wear and damage, which is directly affected by the material conditions.
Most wire, unless highly processed – an expensive and energy intensive process, has defects both on the surface and internally that when formed into a near finished component either fracture due to the forming stresses or fracture during subsequent processing operations. There are several existing technologies including eddy current and water coupled ultrasonics, which are in limited use and are either ineffective in finding a number of material defects or are too expensive or cumbersome to use in daily header operations. However, Resonic Technologies’ new technology brings an advanced measurement capability, installed at the header feed, which looks to prevent machine damage and eliminate wire induced defects.
The technology was developed from material property research work conducted at the National Institute of Standards and Technologies (NIST), and later transformed into a commercially viable and proven industrial test methodology. The technique is now in use and is providing a cost-effective measurement solution for forging applications, with operational simplicity similar to process monitors.
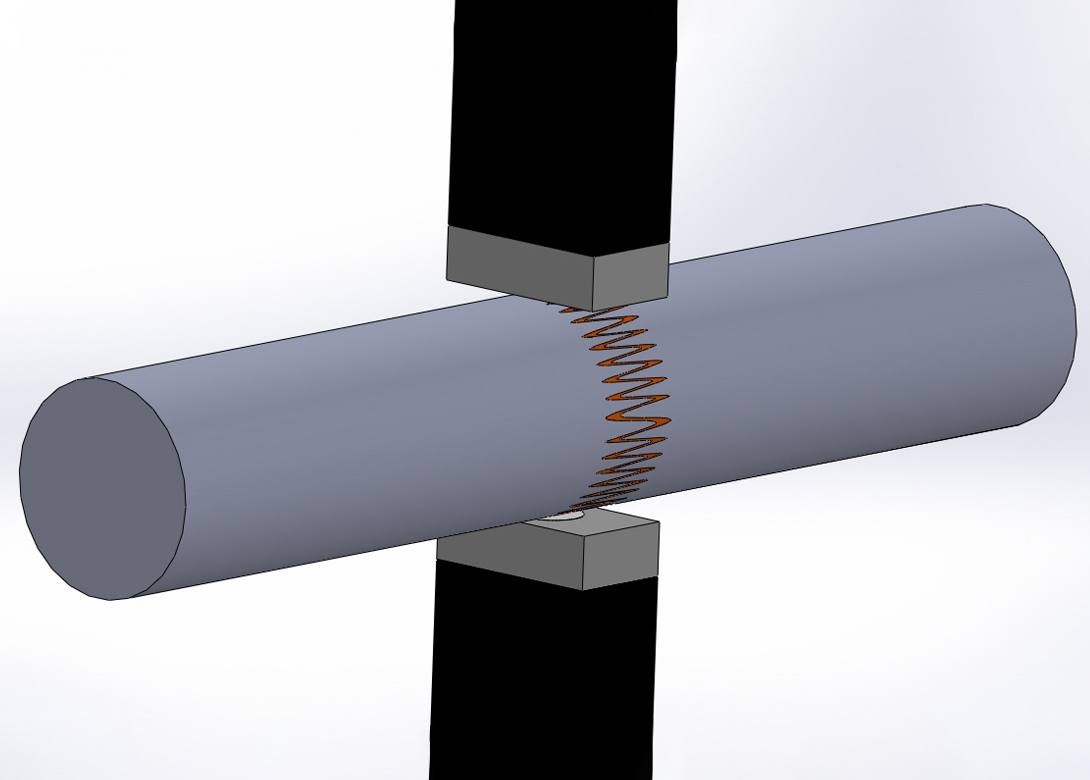
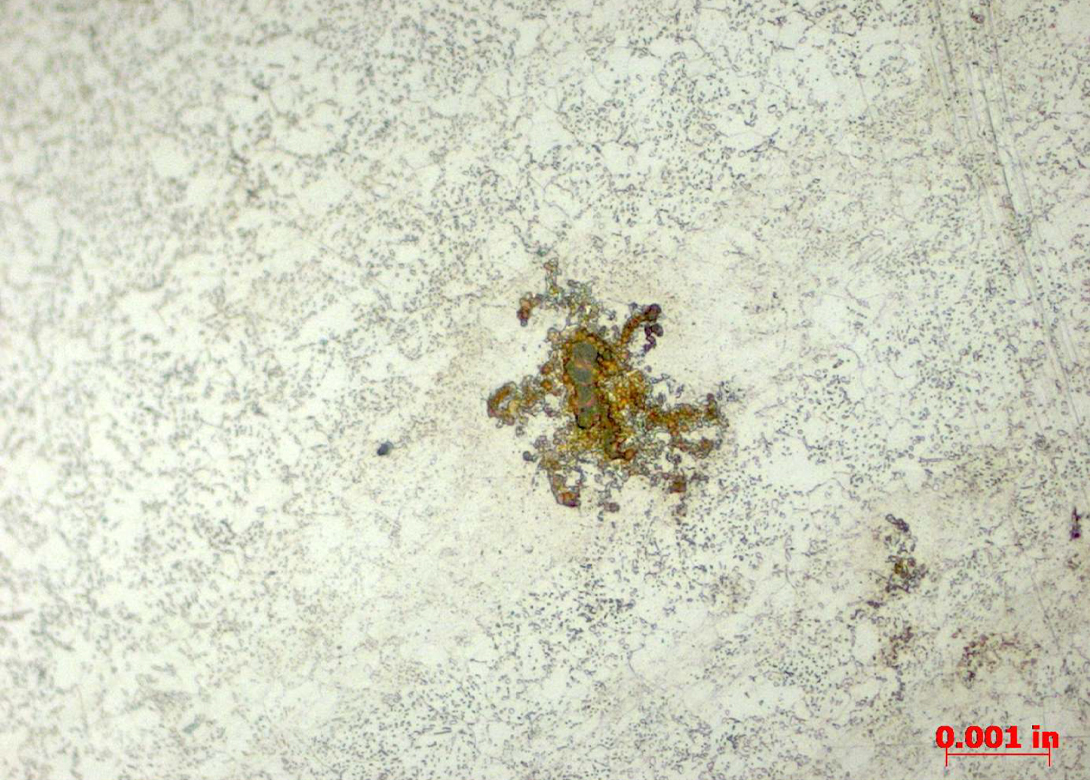
Measurement capability extends from measuring defects simultaneously throughout the entire cross section, evaluating the material from the surface to the deep interior. Additionally, microstructural variations such as decarb, grain size irregularities and process path variations that determine the formability of the base material are also available.
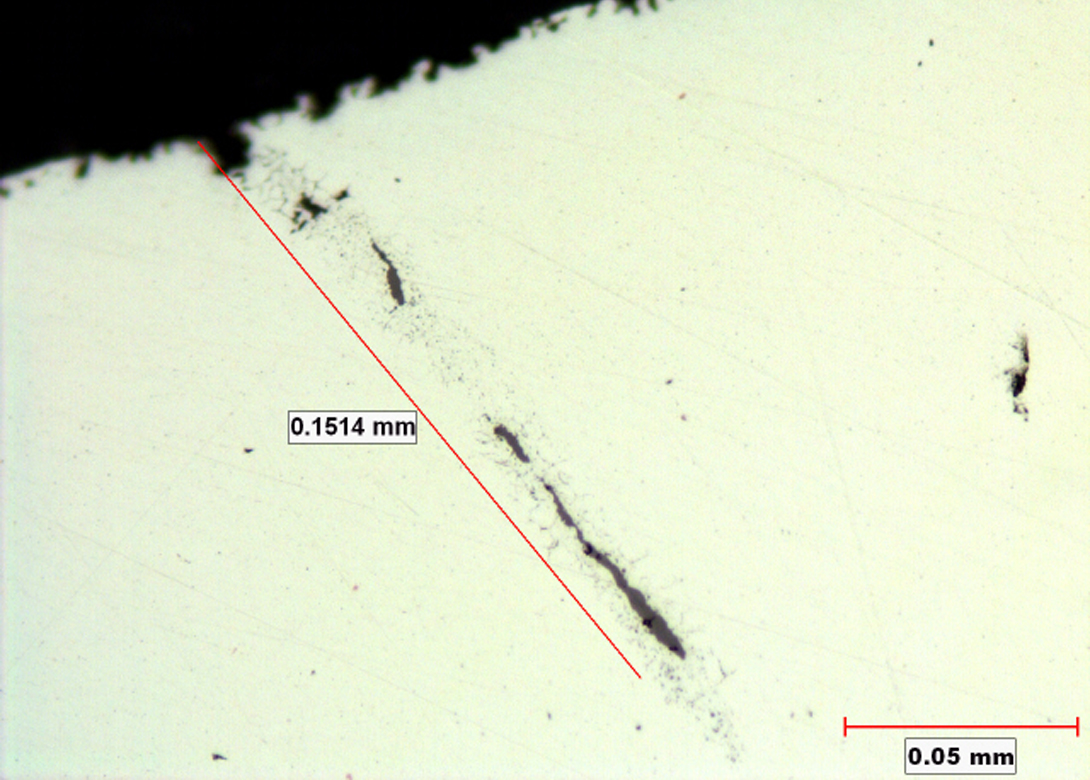
 Discontinuities such as cracks, seams and button defects, detailed by ASTM F2282, as well as localised modulus or elastic properties variations can be selectively detected. The severity of a defect is indicated by changes in the signal characteristics referenced to a baseline signal that is typical of proper microstructure for the given alloy, diameter and specified heat condition.
Fundamentals
Resonance describes a natural phenomenon throughout nature – all matter vibrates, like a violin string, a tuning fork or an atom. These vibrations characterise the object size, mass and composition. Resonic has developed a technology to control the shape and type of vibrations through its non-contacting technology providing a practical method to extract information that details the material properties of the object under test.
For example, defects such as inclusions and porosity alter the behaviour of the elastic waves – indicating a change in elastic properties primarily as a result of the abnormal thermal characteristics and stress distributions surrounding the inclusion area. From a common technology, various applications have been developed from defect detection in wire that can be quickly identified and graded for their severity, to individual components such as fasteners
 The science is known as EMAR (Electromagnetic Acoustic Resonance) or EMAS (Electromagnetic Acoustic Spectroscopy) in the scientific communities. This is not to be confused with the older Acoustic Resonance methods where a body is put into low frequency vibration with a mechanical actuator and the resulting sound is mathematically analysed for deviations from normal.
In this application non-contacting EMAT’s, Electromagnetic Acoustic Transducers, generate and detect specific ultrasonic shear wave resonances. The unique physics of these ultrasonic resonances, combined with the EMAT transducer, enable spatial control of the acoustic field along the wire axis in both depth and length. This is conceptually similar to an MRI of the material under inspection. The vibrating patterns change as different material microstructures in the wire or rod pass under the transducers. The nature of the EMAT allows for the measurement of pure high frequency resonance modes, only possible with a non-contacting method – not available with the complications of the piezo transducer and liquid couplant.
The system
The ARIS (Acoustic Resonance Inspection System) instrument package consists of a touch screen display, Windows™ based signal processing unit and a self adjusting transducer mount adaptable for a wide range of wire diameters. Installation is quick, non-intrusive and requires little if any header downtime.
The installation can be performed by the end user’s technical staff with initial calibration and operator support provided remotely by Resonic. External communication with the header or press is either directly to the header through an internal pass/fail relay or to a process monitor via a standard computer interface. The adjustable mount has roller bearing suspension that keep the sensors suspended above the moving wire with the fully assembled mount requiring about 2 inches of clearance for mounting.
In addition to its unique in-line wire detection technology, Resonic Technologies is also developing a suite of applications using its advanced non contact ultrasonic method, including component level defect detection, precision hardness, hydrogen embrittlement detection and direct measurement of fastener preload.

Having spent a decade in the fastener industry experiencing every facet – from steel mills, fastener manufacturers, wholesalers, distributors, as well as machinery builders and plating + coating companies, Claire has developed an in-depth knowledge of all things fasteners.
Alongside visiting numerous companies, exhibitions and conferences around the world, Claire has also interviewed high profile figures – focusing on key topics impacting the sector and making sure readers stay up to date with the latest developments within the industry.


