While many engineering functions can get away with some degree of tolerance, certain applications need precision and accuracy to the highest order. This can only be carried out with the correct measuring components, as Marcus Schneck, CEO of norelem, explains.
What is engineering? As the Royal Academy of Engineering aptly puts it, engineering is about making things, making things work and making work better. That means engineers are a band of innovators, problem solvers, and tinkerers. Arguably, the mark of a good engineer is one who is continually chasing to improve; never settling for the status-quo.
Of course, the search for better solutions is welcome, as without this, progression cannot be made. Often, what allows engineers to experiment is that engineering is not an exact science – degrees of tolerances can be played with, methods can differ, and creativity can be introduced.
For instance, clamping and positioning can be done in a variety of ways, from toggle clamps to indexing plungers, magnetic clamping balls to cam screws – all are perfectly viable approaches to workholding. Some are more efficient and effective than others, but it is based on the task at hand.
However, there are undeniably engineering disciplines that do require precision and accuracy, and measurements are finite. Take seat belts as an example. Most modern seat belts are stowed on spring-loaded reels called ‘retractors’. These are equipped with inertia locking reels that stop the belt from extending off the reel during severe deceleration, such as in a crash situation or in sharp braking. To engage the belt, the teeth on the retractor system must be precisely engineered. Otherwise, the seat belt locking does not happen. Quite clearly, inside these mechanisms are mission critical dimensions. If not machined and measured correctly, lives could be at stake.
Similarly, aerospace and manufacturing applications need this level of accuracy. If precision is not achieved, parts could be rejected, or fail compliance. This then causes onto downtime, project delays, unnecessary maintenance, and ultimately, additional cost.
To measure parts accurately, engineers must be wise to the measuring tools available, the accuracy they can measure to, and their uses.

Sliding into position with dovetail slides
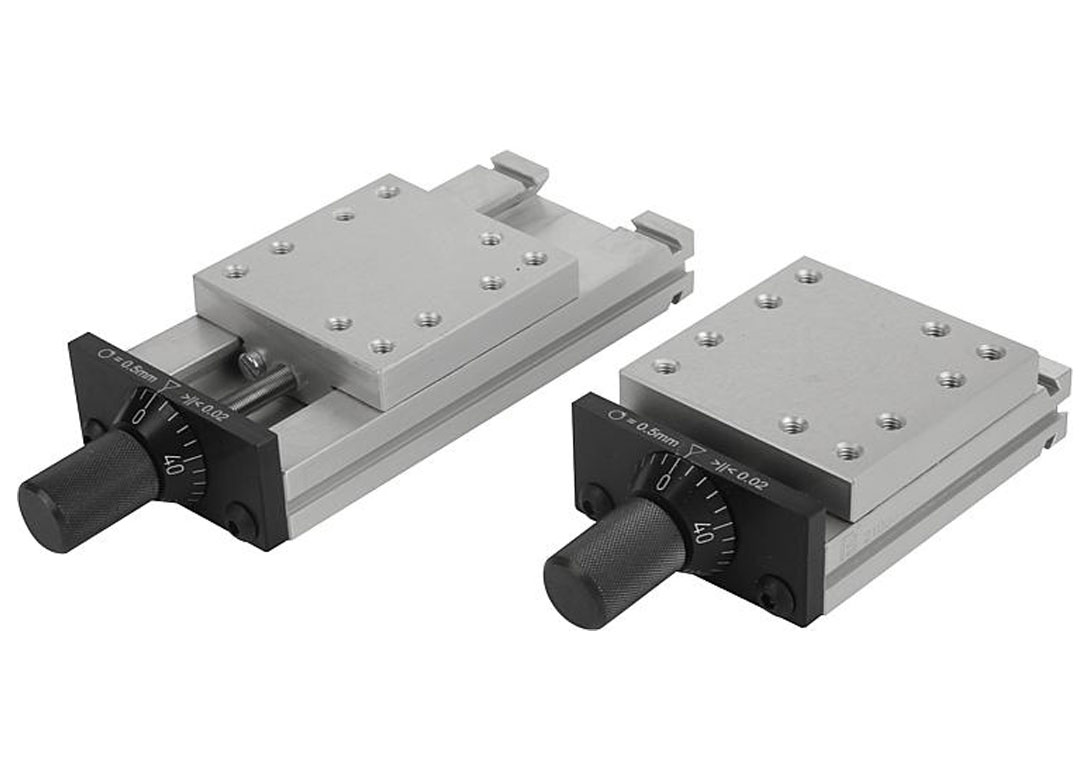
For manufacturing and laboratory science industries, dovetail slides, like those offered by norelem, are the simplest type of linear slide that provide improved positioning accuracy. They have a dovetail shaped channel used to lock the linear rails and allow for movement along the channel.
In a dovetail slide, the moving component comes into direct contact with the load, and the surface area of the dovetail slide is typically larger than that of a ball bearing linear slide, or a roller slide. Therefore, dovetail slides are more suitable for holding heavier loads.
Due to their design, they provide smooth, linear movement without risk of backlash, crucial for fast and efficient positioning. As such, they are an ideal complement for a variety of machines, optical devices and measuring instruments.
Amongst the benefits of these versatile products are the precise adjustment of processing units, measuring cameras, mirrors, microscopes and laser heads. They can also be used to fine-tune soldering, plasma and welding heads, and to focus burning nozzles.
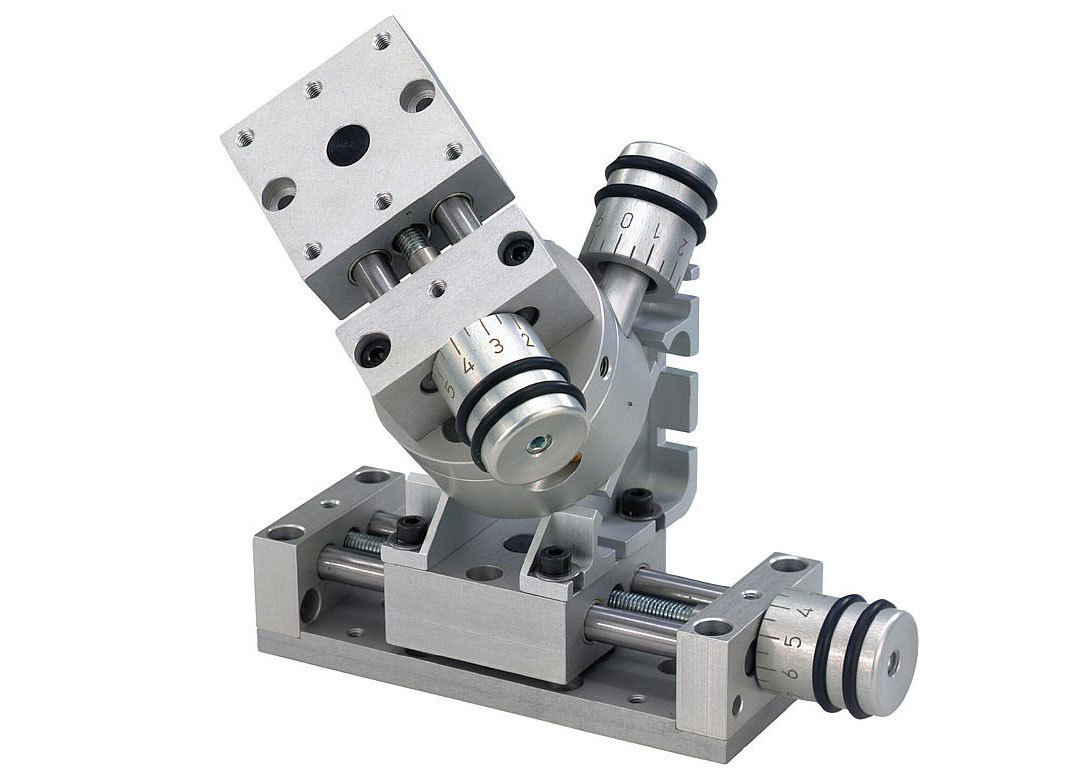
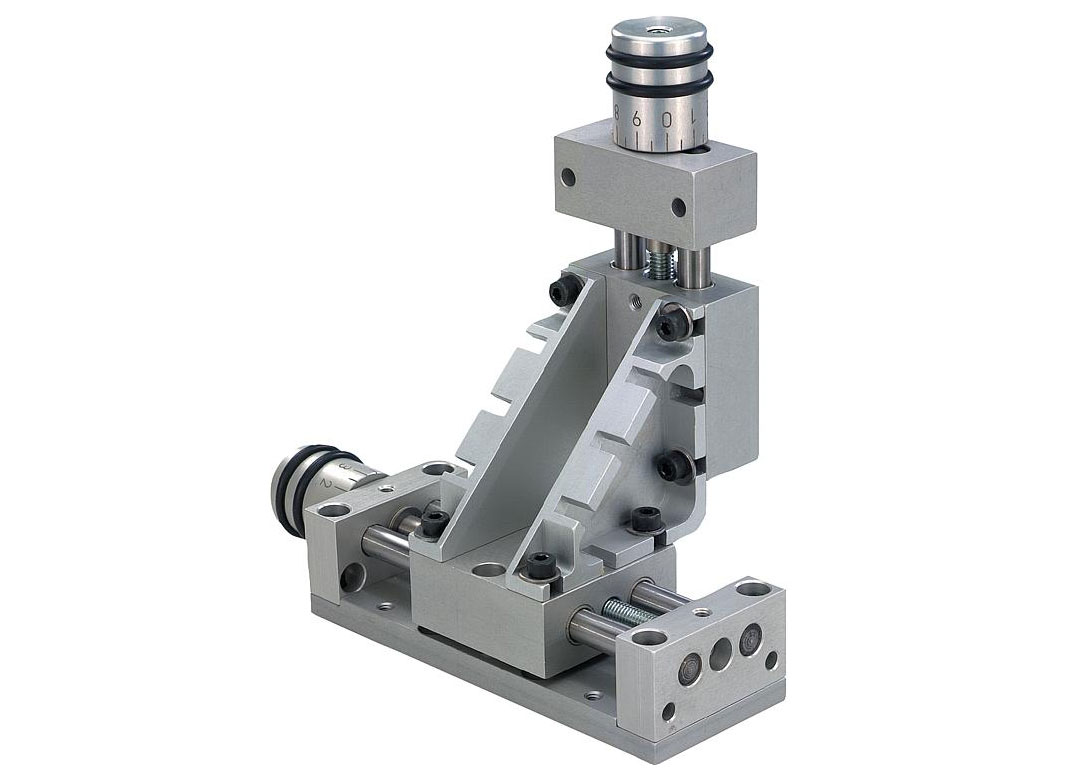
Dovetail slides are also adaptable when more complex positioning is required. Using fastening screws, they can be quickly and simply combined to form cross tables.
Mainly used in the manufacturing and laboratory science industries, these components are durable and can provide ease of motion for over long periods of time without the need for maintenance. Indeed, norelem’s dovetail slides have a life-time of up to 1 million strokes.
Significantly, dovetail slides can be used in conjunction with micrometer spindles and handwheels for even more accuracy. When together, the micrometer spindle allows the moving component on the slide to be graduated in 0.02mm increments.
When measuring and testing equipment, or positioning components on machine tools, handling systems or jigs, positioning stages with electronic position indicators are often best, due to their play-free guides.
Positioning stages (also known as positioning tables) can accurately position components, stops, sensors, limit switches, grippers or even cameras to the nearest hundredth of a millimetre. Versions with electronic position indicators also benefit engineers in that they come with large LCD displays, enabling engineers to read the measurements quickly and clearly and enhancing efficiency. The display accuracy is 0.01mm.
Additionally, with norelem’s positioning tables, reset, chain dimension and offset settings can be managed via the buttons on the position indicator, while battery life is up to 2 years.
Not only do they positioning tables provide accurate measurement, but they are also modular. Cross tables, lifting tables and rotary positioning tables of the same size can be combined together to measure different axials.
While one side of engineering is about creativity and thinking outside the box, the precision side of engineering requires speed and accuracy. Engineers must be able to measure and position efficiently and accurately to enable better productivity.


Having spent a decade in the fastener industry experiencing every facet – from steel mills, fastener manufacturers, wholesalers, distributors, as well as machinery builders and plating + coating companies, Claire has developed an in-depth knowledge of all things fasteners.
Alongside visiting numerous companies, exhibitions and conferences around the world, Claire has also interviewed high profile figures – focusing on key topics impacting the sector and making sure readers stay up to date with the latest developments within the industry.
Don't have an account? Sign Up
Signing up to FastFixTechnology.com enables you to manage your account details.